Virtualisation is a morning breeze in a developers life. you can test, deploy, build any version of package & Softwares with the use of virtual software.
Virtual-box is not an abandoned name in this field, every developer’s laptop holds it from the ages.
Ubuntu recently came to this field with the name of ‘Multipass’. a new tool for developers to offer a mini cloud like virtualisation, and it’s really worth to try it.
I am using virtual box from the start of my career and recently tried Multipass I am amazed with it. How fast and convenient it is to a dev’s life.
In this article I will explain you how you can setup a mini cloud like server in your own machine for testing and development purpose.
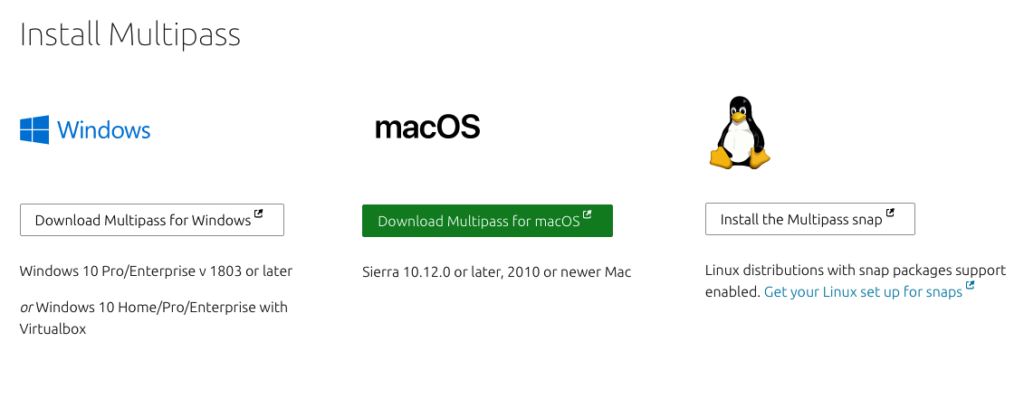
Multipass is freely available for Windows, Mac, Linux from canonical site.Go to https://multipass.run

Download executable file and install in your machine according to your machine architecture and configuration.
After successful installation, open your terminal and run this command
➜ ~ multipass --help
Your command prompt will show you a window like this, It Means you have installed Multipass correctly.This window is also providing you some short overview of available command parameters.
➜  ~ multipass --help
Usage: multipass [options] command
Create, control and connect to Ubuntu instances.

This is a command line utility for multipass, a
service that manages Ubuntu instances.

Options:
  -h, --help     Display this help
  -v, --verbose  Increase logging verbosity, repea....

Available commands:
  delete    Delete instances
  exec      Run a command on an instance
  find      Display available images to create instances from
  get       Get a configuration setting
  help      Display help about a command
  info      Display information about instances
  launch    Create and start an Ubuntu instance
  list      List all available instances
  mount     Mount a local directory in the instance
  purge     Purge all deleted instances permanently
  recover   Recover deleted instances
  restart   Restart instances
  set       Set a configuration setting
  shell     Open a shell on a running instance
  start     Start instances
  stop      Stop running instances
  suspend   Suspend running instances
  transfer  Transfer files between the host and instances
  umount    Unmount a directory from an instance
  version   Show version details
An “instance” means an Ubuntu OS which Multipass will install in your machines as a instance.
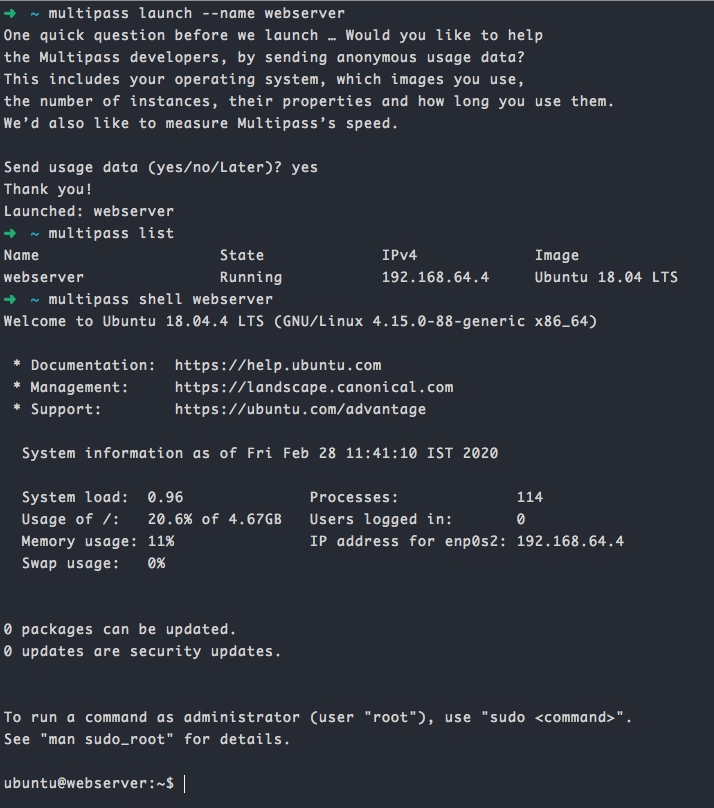
Create a new instance.You can create new instance with two method here, also you can give a name to your instances with ‘name’ parameter.
➜ ~ multipass launch --name webserver
It will install a full ubuntu server on your machine with ‘webserver’ name.
Congrats! you are now in a fresh ubuntu shell. You can use it as a Local DB Server, App Development Server or host you testing apps.
Wait there is a also a catch, by default Multipass gives only 5 GB of memory to your instance if you wants to increase this limit you can do this.
➜ ~ multipass launch --disk 10G --name webserverNote: you can’t login from root because no password is set yet ‘ubuntu’ is default user in your instance, enable root login first to access instance from ssh.
Working with Multipass.
For starting a instance.
➜ ~ multipass start webserverTo access shell of an instance.
➜ ~ multipass shell webserverTo list all instances you have created.
➜ ~ multipass listTo delete an instance.
➜ ~ multipass delete webserverIt will delete requested instance and all files, to remove all deleted instance from machine use.
Enjoy! your mini cloud like environment is ready.
Thanks for Reading
You can submit your feedback with comment or follow me on
Linkedin: https://www.linkedin.com/in/ankitmlive/
Github: https://github.com/ankitmlive